Oreo Icebox Cake

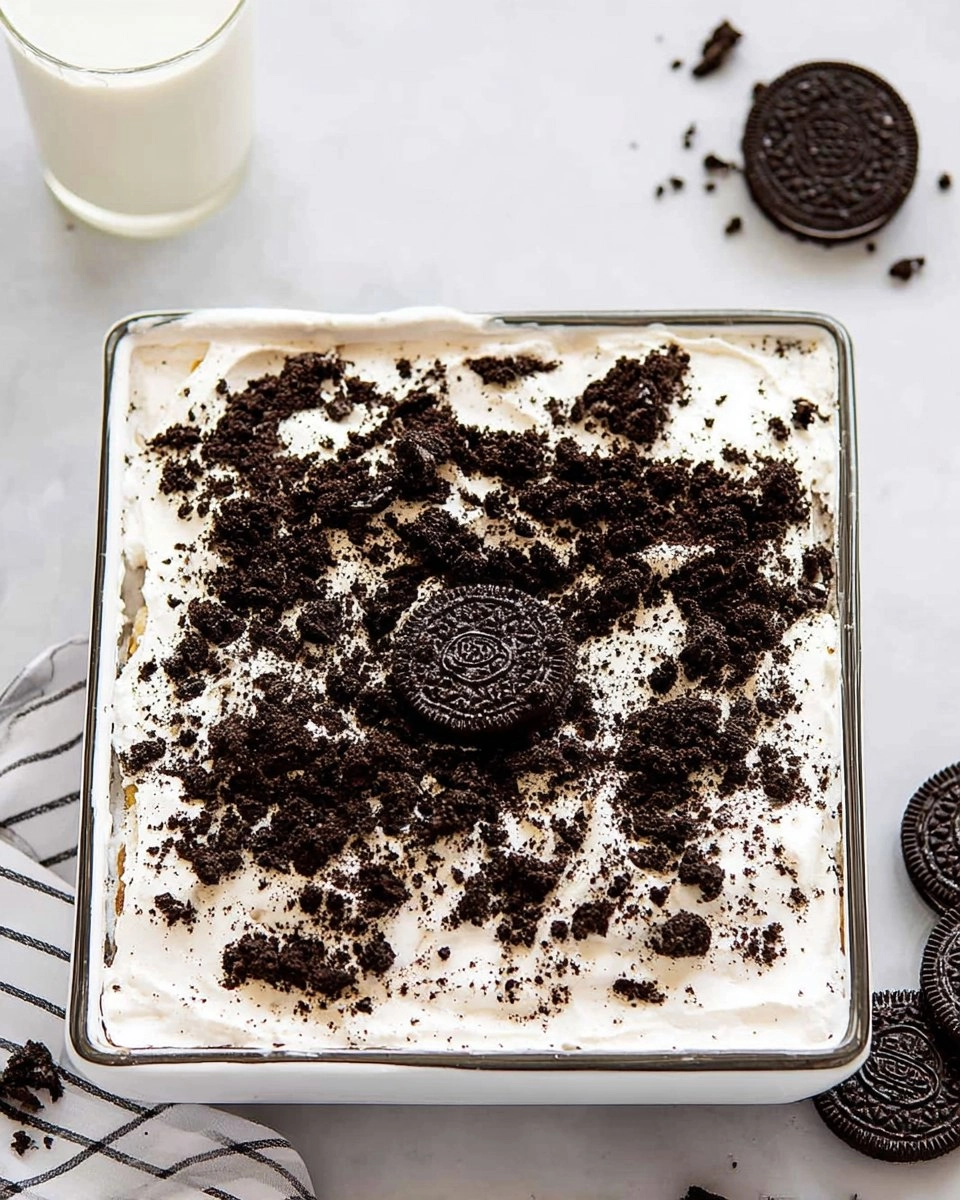
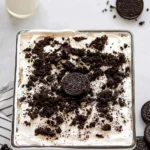
Oreo Icebox Cake is more than just dessert; it’s a nostalgic treat that transports you back to carefree summer days. With layers of softened Oreo cookies and a rich, fluffy cream cheese mixture, every bite melts deliciously in your mouth. The contrast of the creamy filling against the chocolatey crunch of the Oreos is nothing short of heavenly. And the best part? It requires no baking. Just a little bit of assembly, some chilling time in the fridge, and voilà! Your sweet indulgence awaits.
Table of Contents
I can still remember the first time I made this Oreo Icebox Cake for a family gathering. I was greeted with smiles and a chorus of “Yummy!” as everyone dug in. Folks who usually lean towards the more complex desserts couldn’t resist a second helping of this layered delight! Whether you’re celebrating a birthday, hosting a BBQ, or simply treating yourself, this icebox cake is a crowd-pleaser that’s sure to impress. Trust me, once you try it, you’ll be making it on repeat!
Why You’ll Love This Recipe
- Simple & Quick: With minimal prep time, you can whip this up in less than 30 minutes and chill it overnight for the perfect treat!
- Irresistible Flavor: The combination of rich cream and crunchy cookies creates a texture that’s impossible to resist.
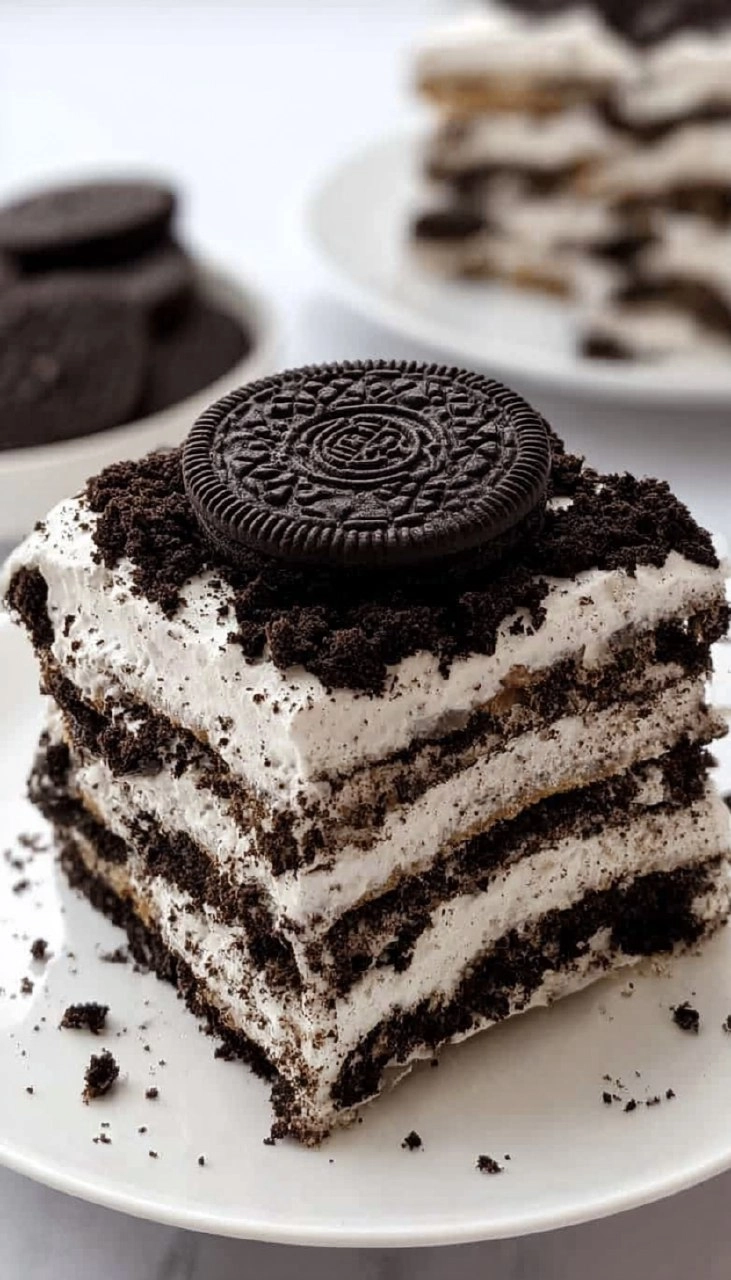
- Eye-Catching Appeal: The layers of creamy filling and oreo cookies look stunning, making it an impressive centerpiece for any dessert table.
- Flexible Serving: Perfect for any occasion – be it summer picnics, holiday gatherings, or just a cozy night in.
- Diet-Friendly Options: With a few tweaks, you can make this dessert gluten-free or adapt for dietary preferences.
Ingredients You’ll Need
- 48 Oreo cookies: The star of the show! Classic Oreos give that rich flavor and crunch.
- 4 ounces cream cheese, softened: Adds creaminess and balances the sweetness of the dessert.
- 2 ½ cups (595 g) heavy whipping cream, cold: Essential for creating a light and airy texture when whipped.
- ½ cup (62.5 g) confectioners’ sugar: Sweetens the filling without overpowering the chocolate flavor.
- 1 teaspoon vanilla extract: Enhances the overall flavor of the whipped cream.
- Crushed Oreo cookies: For a decorative touch on top and an added crunch that guests will love.
How to Make Oreo Icebox Cake
- Chill Your Mixing Tools: To start, place the bowl of your stand mixer and whisk attachment in the freezer for about 15 to 20 minutes. This will help achieve those fluffy peaks when you whip the cream.
- Prepare Whipped Cream Mixture: In the chilled bowl, beat 4 ounces of softened cream cheese until it’s smooth. Then, add 2 ½ cups of cold heavy whipping cream, ½ cup of confectioners’ sugar, and 1 teaspoon of vanilla extract. Beat on medium-high until stiff peaks form, but be careful not to overbeat, as you want the cream light and fluffy.
- Layer the Base: Spread a thin layer of your whipped cream mixture into the bottom of an 8×8-inch baking dish. This creates a great start for your Oreo base.
- Add the First Layer of Cookies: Take your whole Oreo cookies and arrange them in a single layer over the whipped cream. If some cookies don’t fit perfectly, feel free to break a few into pieces to fill the gaps.
- Repeat with the Whipped Cream: Spread about one-third of the remaining whipped cream mixture evenly over the layer of cookies, ensuring you cover them well for a beautiful texture.
- Build More Layers: Repeat the last two steps two more times, layering Oreo cookies and whipped cream until you finish with the whipped cream on top.
- Finish with Crushed Oreos: To give it a finishing touch, sprinkle the top of your cake with crushed Oreo cookies for that extra crunch.
- Chill in Fridge: Cover the dish tightly with plastic wrap and refrigerate for at least 6 to 8 hours or preferably overnight. This is crucial; the cookies will soften and absorb the creamy filling, giving your cake that delectable texture you want.
- Serve Cold: For the cleanest slices, place the cake in the freezer for about 20 to 30 minutes before cutting. This will help maintain those pretty layers when you serve.
Storing & Reheating
Oreo Icebox Cake is easy to store, making it a convenient treat. Keep it tightly covered in the refrigerator, where it can last for up to 5 days. If you have leftovers and want to keep it longer, consider freezing the slices. Just wrap them well in plastic wrap or store in an airtight container, and they’ll be good for up to 3 months. Thaw the cake in the fridge for a few hours or overnight when you’re ready to enjoy again. Keep in mind that the texture may change slightly after freezing, but it will still be delicious!
Chef’s Helpful Tips
- Avoid Overbeating: When whipping the cream, stop as soon as you see stiff peaks. Overbeating can turn it into butter!
- Smooth Cream Cheese: To ensure a lump-free mixture, make sure your cream cheese is adequately softened before you start mixing.
- Layering Tip: When layering, be generous but don’t skimp on cream. The cream acts as a binding agent for the cookies, so each layer should be well covered.
- Crushing Cookies: For the crushed Oreo topping, you can either use a food processor or put them in a zip-top bag and crush them with a rolling pin for a fun activity!
- Make-Ahead Convenience: This cake keeps well in the fridge, so it’s perfect for preparing a day in advance for gatherings.
Oreo Icebox Cake offers a perfect blend of simplicity and delightful flavor that makes it satisfying for both everyday cravings and special celebrations. Its layers create a beautiful bite every time, and the rich taste ensures it’s enjoyed by everyone. So go ahead and make it, let it chill, and gather your loved ones for a slice of sweet happiness. Enjoy the delightful conversations that are sure to come with each wonderful bite!
Recipe FAQs
Can I use different types of cookies?
Absolutely! You can switch out the Oreos for any sandwich cookie you prefer. Chocolate-filled cookies, peanut butter cookies, or even gluten-free varieties can work beautifully for your custom cake.
How long does the Oreo Icebox Cake need to chill?
To achieve the best flavor and texture, it’s recommended to allow your cake to chill in the refrigerator for at least 6 to 8 hours or overnight. This time will let the cookies soften and meld together with the cream.
Can I make this dessert vegan?
Yes! Simply replace the heavy whipping cream with coconut cream, swap the cream cheese for a vegan cream cheese alternative, and use dairy-free Oreo cookies. You’ll still achieve a delicious and creamy dessert.
How do I store leftovers?
Store any leftover Oreo Icebox Cake in an airtight container in the fridge for up to 5 days. If you wish to keep it longer, wrap it tightly in plastic wrap and freeze for up to 3 months. Just be sure to let it thaw before indulging in it again!
PrintMore Desserts & Appetizers Recipes
- Brownie Bites
- Stained Glass Cookies
- Classic Cucumber Tomato Salad
- Green Velvet Cupcakes | St Patrick’s Day Cupcake Recipe
- Ina Garten’s Brownie Pudding
Did You Enjoy Making This Recipe? Please rate this recipe with ⭐⭐⭐⭐⭐ or leave a comment.
📖 Recipe Card
Oreo Icebox Cake
- Prep Time: 15 minutes
- Cook Time: 0 minutes
- Total Time: 15 minutes
- Yield: 9 servings 1x
- Category: Desserts
- Method: No-Bake
- Cuisine: American
Description
Oreo Icebox Cake is a delightful dessert featuring layers of cream cheese and Oreo cookies. Easy to prepare, it’s perfect for gatherings or a sweet treat at home.
Ingredients
- 48 oreo cookies
- 4 ounces cream cheese, softened
- 2 ½ cups (595 g) heavy whipping cream, cold
- ½ cup (62.5 g) confectioners' sugar
- 1 teaspoon vanilla extract
- Crushed Oreo cookies
Instructions
- Chill the bowl of a stand mixer and whisk attachment in the freezer for 15-20 minutes.
- In the chilled bowl, beat the cream cheese until smooth. Mix in the heavy whipping cream, confectioners’ sugar, and vanilla extract. Beat until stiff peaks form, taking care not to overbeat.
- Spread a thin layer of the whipped cream mixture in the bottom of an 8×8-inch baking dish.
- Arrange a layer of Oreo cookies over the whipped cream, breaking some cookies as necessary to fit.
- Spread one-third of the remaining whipped cream mixture evenly over the Oreos.
- Repeat the layers two more times, finishing with a final layer of whipped cream on top.
- Top with crushed Oreo cookies.
- Cover tightly with plastic wrap and refrigerate for at least 6 to 8 hours, or overnight for best results. This allows the cookies to soften and take on a cake-like texture.
- Serve chilled, and if you want clean slices, freeze the cake for 20-30 minutes before cutting.
Notes
For a richer flavor, use double-stuffed Oreo cookies.
This cake is best enjoyed after being refrigerated overnight.
Try adding layers of other cookie varieties for a different flavor profile.
Nutrition
- Serving Size: 1 slice
- Calories: 490
- Sugar: 24g
- Sodium: 230mg
- Fat: 40g
- Saturated Fat: 23g
- Unsaturated Fat: 15g
- Trans Fat: 0g
- Carbohydrates: 37g
- Fiber: 2g
- Protein: 4g
- Cholesterol: 100mg