Pear Crisp

Pear Crisp is a delightful dessert that brings together the sweet juiciness of fresh pears with a crispy, buttery topping. The fragrance of cinnamon and nutmeg wafts through your kitchen as the crisp bakes, inviting everyone to gather around the warm goodness. This recipe not only captivates the senses but also offers a comforting experience, perfect for sharing with family or friends. There’s something truly special about a homemade pear crisp that store-bought desserts simply can’t compete with, and it’s bound to become a staple in your dessert rotation.
Table of Contents
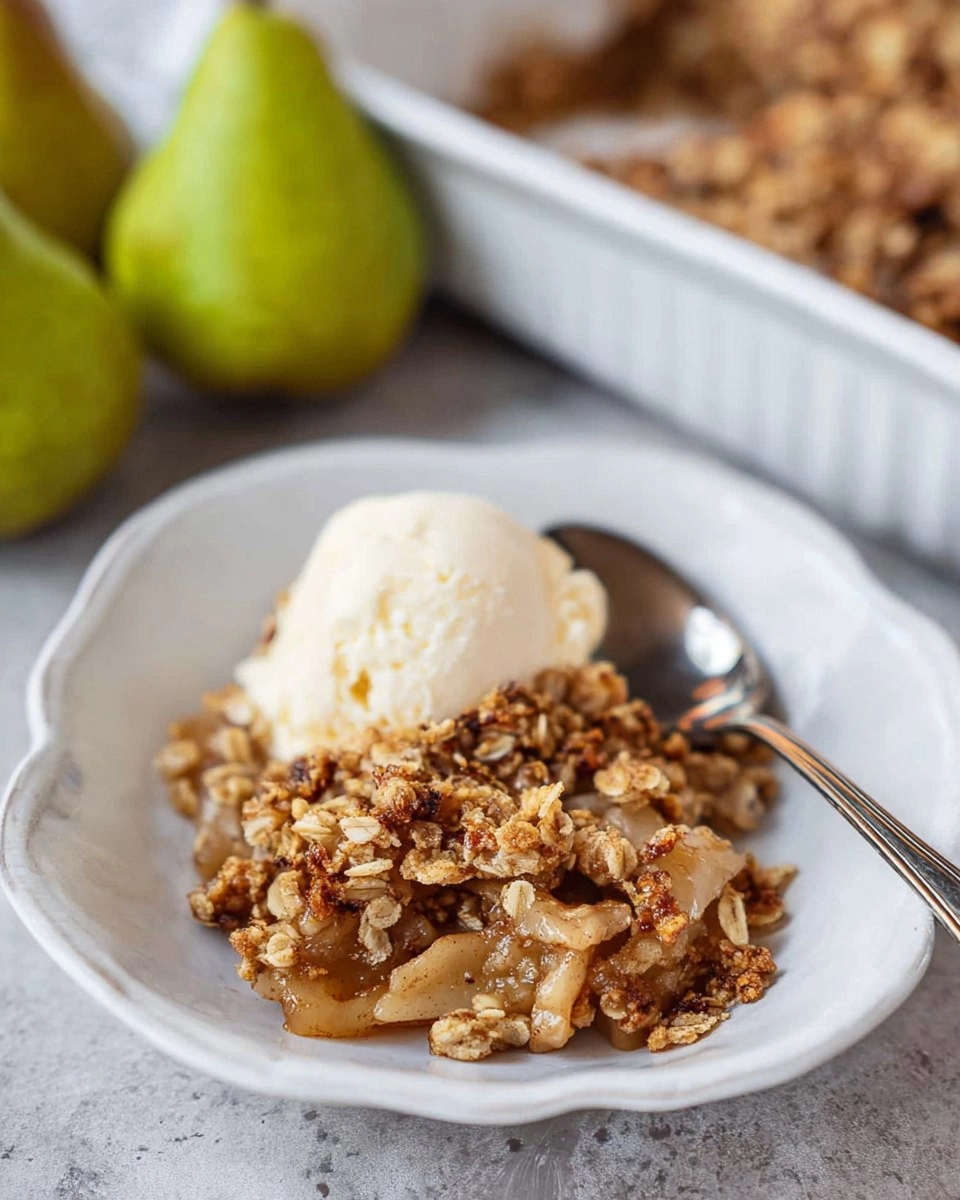
I first discovered pear crisp during an autumn gathering with friends. It was a chilly evening, and the warm, spiced aroma of the baking crisp filled the room, instantly lifting everyone’s spirits. As we enjoyed generous portions topped with vanilla ice cream, laughter and rich conversation flowed. This experience reminded me that some of life’s finest moments are made sweeter with an irresistible dessert like pear crisp. I can’t wait for you to try this recipe, as it’s not just easy to prepare but also incredibly satisfying to enjoy.
Why You’ll Love This Recipe
- Simple & Quick: Whip it up in just 15 minutes, then let the oven do the rest.
- Irresistible Flavor: The blend of sweet, juicy pears combined with warm spices creates a comforting hug in a dish.
- Eye-Catching Appeal: Golden-brown crumbles sit atop bubbling, fragrant pears—a true showstopper at any dinner table.
- Flexible Serving: Great for dessert, cozy snacks, or even breakfast with a dollop of yogurt.
- Diet-Friendly Options: Easily adapt the recipe for gluten-free needs with simple swaps.
Ingredients You’ll Need
- 4 cups pears (peeled and thinly sliced from 5-6 pears): Choose ripe, sweet pears for the best flavor. Varieties like Bartlett or Anjou work wonderfully.
- 1/4 cup granulated sugar: This enhances the natural sweetness of the pears, but you can adjust according to your taste.
- 1 tablespoon ground cinnamon: Adds warmth and depth; feel free to include a touch more if you love its flavor.
- 1 teaspoon ground nutmeg: A complementary spice that lends a cozy aroma and taste to your crisp.
- 1 cup rolled oats: These give the crunchy topping its delightful texture; use gluten-free oats to keep it suitable for gluten-sensitive diets.
- 1/3 cup all-purpose flour: This binds the topping together. Substitute with gluten-free flour if needed.
- 1/2 cup brown sugar (packed): For richness and a hint of caramel flavor—this is essential for the crispness.
- 1/2 cup pecans or walnuts (optional, chopped): These add extra crunch and flavor; skip them if nuts aren’t your thing.
- 4 tablespoons unsalted butter: Use cold, cubed butter for the topping to achieve a crumbly texture.
How to Make Pear Crisp
- Preheat the Oven: Begin by preheating your oven to 350°F. Greasing a 2-quart baking dish with butter or a sprinkle of non-stick cooking spray will ensure perfect release.
- Prepare the Pear Mixture: In a large bowl, toss the sliced pears with 1/4 cup granulated sugar, 1 tablespoon ground cinnamon, and 1 teaspoon ground nutmeg. Make sure every slice is coated, then pour into the prepared baking dish, spreading it into an even layer.
- Make the Topping: In that same bowl, combine 1 cup rolled oats, 1/3 cup all-purpose flour, and 1/2 cup brown sugar. If you’re adding nuts, toss those in at this stage.
- Cut in the Butter: Using a fork, pastry cutter, or your hands, work 4 tablespoons of cold, cubed unsalted butter into the dry mixture until it resembles coarse crumbs. This step is crucial for achieving that desired crunch.
- Assemble the Crisp: Sprinkle the crumb mixture evenly over the prepared pears. Don’t hesitate to pile it on—more crunch is always a good idea!
- Bake to Perfection: Bake the pear crisp for 45 minutes, or until the topping is golden brown and the pears are bubbling around the edges. You’ll know it’s done when your kitchen fills with that mouthwatering aroma.
- Cool and Serve: Allow it to cool slightly before serving. Enjoy it warm, at room temperature, or even chilled—the choice is yours!
Storing & Reheating
Store any leftovers in an airtight container at room temperature for up to two days. For longer storage, refrigerate the pear crisp for up to a week. If you want to freeze it, wrap it tightly in plastic wrap or aluminum foil, maximum storage time being up to three months. To enjoy it again, simply reheat in a 350°F oven for about 10-15 minutes, or until warmed through. The texture may change slightly after freezing, but a quick reheat will refresh its warmth and flavor.
Chef’s Helpful Tips
- Avoiding a Soggy Crisp: Make sure your pears aren’t overly ripe; they should hold together when baked.
- Butter Temperature Matters: Use cold butter when mixing the topping for that crunchy texture—we want crumbles, not a paste!
- Timing is Key: Keep an eye on your crisp during the last few minutes of baking. If you notice it browning too quickly, cover it loosely with foil.
- Flavor Extras: For a fun twist, add a splash of vanilla extract or a handful of dried cranberries for added flavor.
- Make Ahead: Assemble the crisp in advance, cover it, and refrigerate. Bake just before serving for a warm dessert.
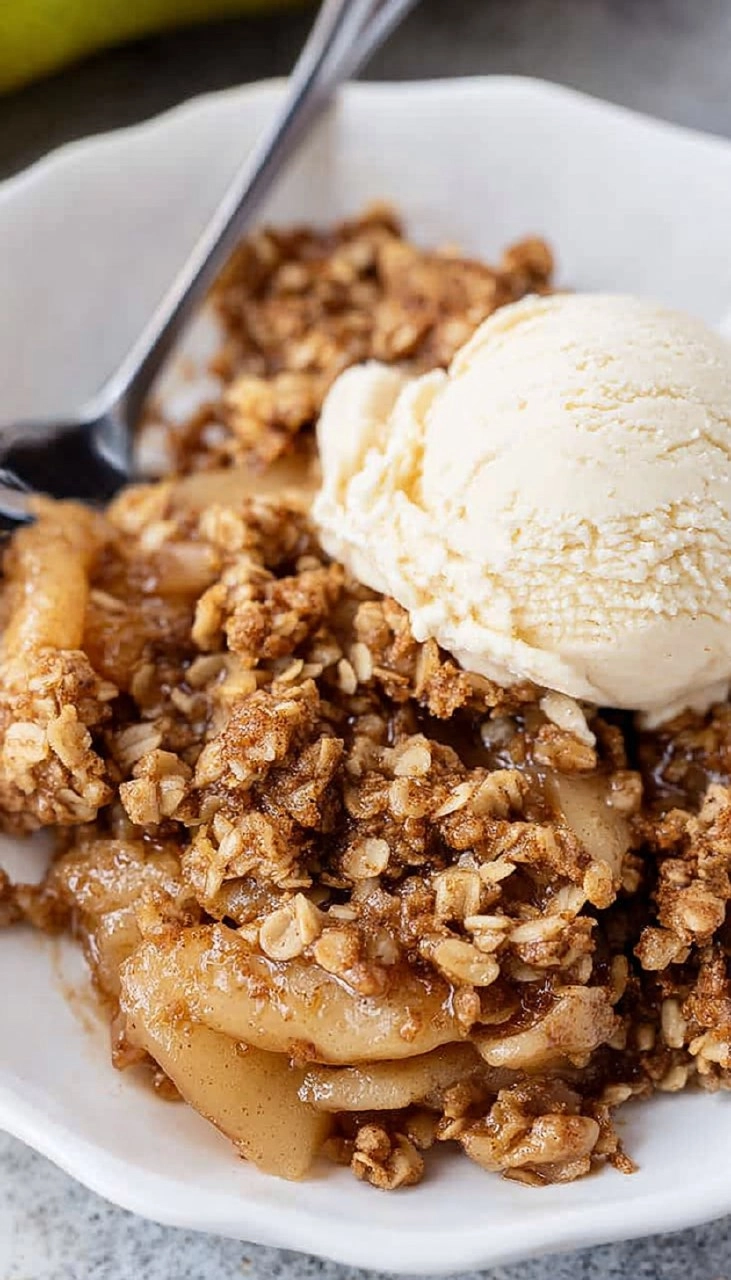
Pear crisp is the kind of dessert that wraps you in comfort and joy. With every bite, you’re treated to the soft, sweet pears nestled beneath a crunchy, spiced topping that sings of home and family. Don’t hesitate to make this your go-to dinner party dessert or an everyday treat to enjoy with a cup of coffee. The kitchen will smell heavenly, and your taste buds will thank you!
Recipe FAQs
Can I use other fruits besides pears?
Absolutely! Apples are a fantastic alternative, or you could mix in some berries or peaches for added flavor. Just be mindful of the sugar amount as different fruits have varying sweetness levels.
Can I make pear crisp ahead of time?
Certainly! You can prepare the topping and fruit mixture separately. Store them in the fridge and combine just before baking. This is a great way to save time when hosting.
How do I know when my pear crisp is done?
You’ll know it’s ready when the topping turns a lovely golden brown and the edges are bubbling. The aroma should fill your kitchen with warmth—an irresistible invitation to dig in!
Is this recipe gluten-free?
Yes, simply use gluten-free oats and a suitable gluten-free flour to make the entire dish gluten-free. With these swaps, everyone can enjoy this delicious treat!
PrintMore Desserts & Appetizers Recipes
- Apple Cinnamon Oatmeal Cookies
- Sweet Potato Tots
- Classic Chocolate Chess Pie
- Caramel Apple Cinnamon Rolls
- Soft Chewy Crumbl Butterfinger Cookies Copycat
Did You Enjoy Making This Recipe? Please rate this recipe with ⭐⭐⭐⭐⭐ or leave a comment.
📖 Recipe Card
Pear Crisp
- Prep Time: 20 minutes
- Cook Time: 45 minutes
- Total Time: 1 hour 5 minutes
- Yield: 8 servings 1x
- Category: Desserts & Appetizers
- Method: Baking
- Cuisine: American
Description
This pear crisp combines fresh, juicy pears with a crumbly topping of oats and spices. It’s an easy, delightful dessert that’s perfect any time, offering comforting flavors and a homemade touch.
Ingredients
- 4 cups pears (peeled and thinly sliced from 5–6 pears)
- 1/4 cup granulated sugar
- 1 tablespoon ground cinnamon
- 1 teaspoon ground nutmeg
- 1 cup rolled oats (gluten free, if needed)
- 1/3 cup all purpose flour (gluten free, if needed)
- 1/2 cup brown sugar (packed)
- 1/2 cup pecans or walnuts (optional, chopped)
- 4 tablespoons unsalted butter
Instructions
- Preheat the oven to 350°F and grease a 2-quart baking dish with butter or non-stick cooking spray.
- In a large bowl, combine the pears, sugar, cinnamon, and nutmeg. Pour this mixture into the prepared baking dish and spread it out evenly.
- In the same bowl, mix the oats, flour, and brown sugar. If using, add the chopped pecans or walnuts now.
- Cut the butter into the dry mixture using a fork, pastry cutter, or your fingers until it resembles crumbles.
- Sprinkle the crumble mixture evenly over the pears in the baking dish.
- Bake for 45 minutes until the topping is golden brown and the pears are bubbling around the edges. Allow to cool slightly before serving.
- Serve warm, at room temperature, or chilled.
Notes
For a gluten-free version, use gluten-free rolled oats and flour.
Feel free to customize with your favorite nuts or even add a dash of vanilla extract for extra flavor.
Pair with vanilla ice cream for a delightful dessert experience.
Nutrition
- Serving Size: 1 serving
- Calories: 250
- Sugar: 18g
- Sodium: 50mg
- Fat: 10g
- Saturated Fat: 4g
- Unsaturated Fat: 6g
- Trans Fat: 0g
- Carbohydrates: 39g
- Fiber: 3g
- Protein: 4g
- Cholesterol: 20mg