Homemade Caramel Apples

Homemade caramel apples are a nostalgic delight that brings a smile to anyone’s face. The combination of crisp, tart Granny Smith apples encased in a rich, buttery caramel makes for a perfect treat. With just the right amount of sweetness and a chewy, gooey texture, these homemade versions far surpass any store-bought ones. Not only are they a fun family project, but they are also a great way to showcase seasonal apples during the fall or at any festive gathering.
Table of Contents
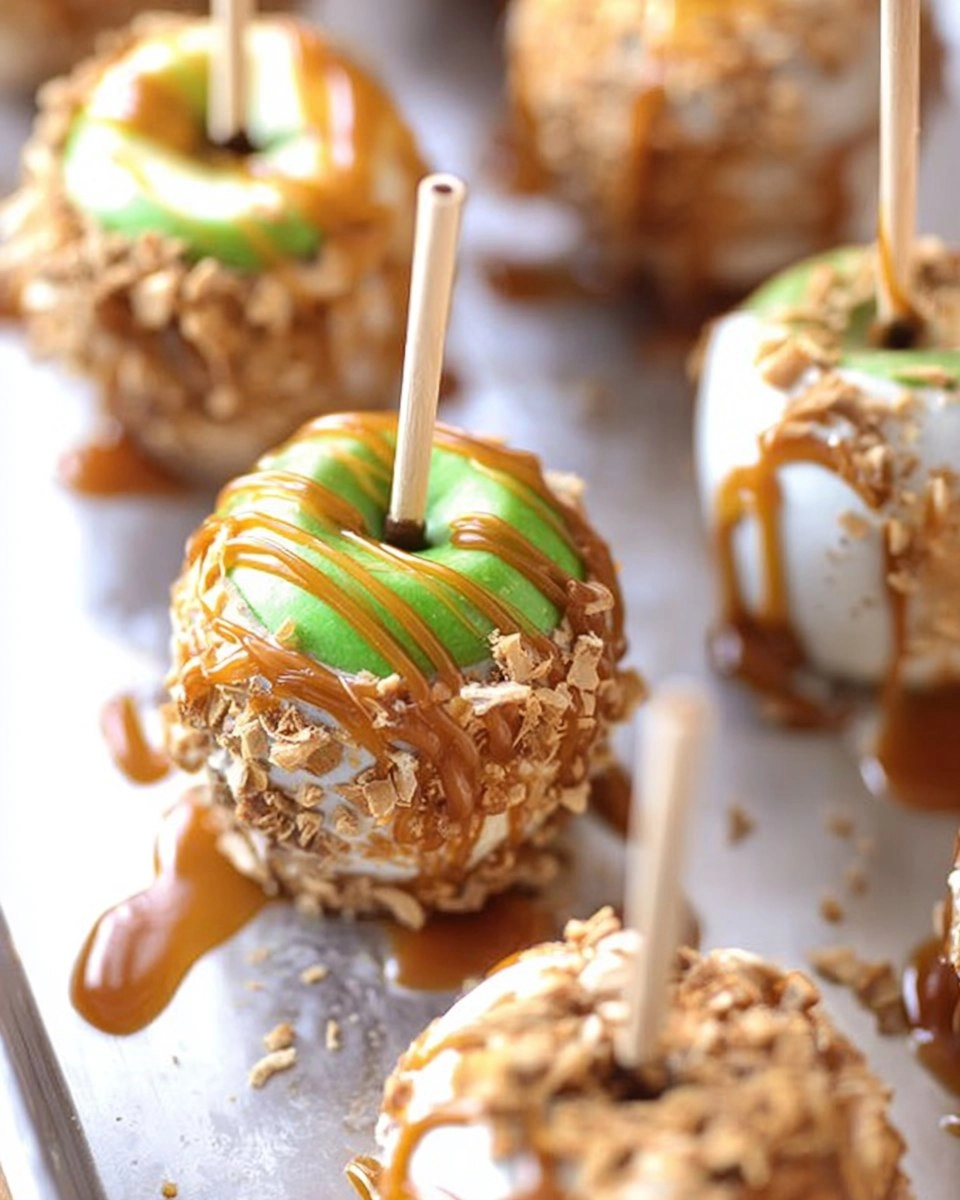
I still remember the first time I made caramel apples. It was a chilly autumn afternoon, and the aroma of caramel wafting through the kitchen made my mouth water. The joy in my kids’ eyes as they dipped their apples into the heavenly caramel was unforgettable. Making homemade caramel apples is not just about the end result; it’s about creating cherished memories with loved ones. You’ll find that this easy, crowd-pleasing treat is perfect for parties, holidays, or simply a cozy snack at home. I can’t wait for you to try these homemade caramel apples!
Why You’ll Love This Recipe
- Simple & Quick: This recipe is easy to make, taking about 30 minutes to prepare.
- Irresistible Flavor: The creamy caramel on a tart apple is a flavor combination that you won’t forget.
- Eye-Catching Appeal: They make a beautiful centerpiece for any party or dessert table.
- Flexible Serving: Perfect for fall gatherings, school events, or to satisfy your cravings.
- Diet-Friendly Options: Adaptable by using dairy-free alternatives if necessary.
Ingredients You’ll Need
- 12 whole Granny Smith apples: Tart apples are perfect for caramel; their firmness helps balance the sweetness.
- 12 lollipop sticks or popsicle sticks: These will act as handles to easily dip and eat your apples.
- 1 cup butter: Provides the rich, creamy base for the caramel.
- 1 cup granulated sugar: Sweetens the caramel, creating that irresistible flavor.
- 1 cup light brown sugar: Adds depth and a slight hint of molasses to the caramel.
- 1 cup Karo syrup: Helps prevent the caramel from crystallizing, ensuring a smooth consistency.
- 1 can sweetened condensed milk: Adds creaminess and richness, making the caramel decadent.
- 1 teaspoon vanilla extract: Enhances the overall flavor of the caramel.
- 1/4 teaspoon salt: Balances sweetness and intensifies the caramel flavor.
- 2 cups chocolate wafers (white or milk chocolate, melted): For drizzling or dipping, adding a chocolatey layer to your apples.
- 1/2 cup toppings (sprinkles, crushed candy bars, crystal sugar, etc.): Customize your apples with fun and delightful toppings.
How to Make Homemade Caramel Apples
Prepare the Apples: Start by washing the apples thoroughly to remove any wax. Soak them in a mixture of half a gallon of water and 1 cup of white vinegar for about 10 minutes, then dry completely with a dish towel or paper towel.
Insert Sticks: Remove the stems of each apple and carefully insert a wooden dowel or lollipop stick into the top, pushing it about 3/4 of the way through to ensure a sturdy hold.
Set Up Your Station: Line a baking sheet with parchment paper and set the apples on top. This will be where your caramel apples cool.
Make the Caramel: In a large nonstick Dutch oven pot over medium heat, add 1 cup of butter and let it melt completely. Once melted, pour in 1 cup of granulated sugar, 1 cup of light brown sugar, 1 cup of Karo syrup, and 1 can of sweetened condensed milk. Stir everything together and bring it to a gentle boil.
Cook the Caramel: Keep stirring constantly as the mixture reaches boiling point and cook until the temperature hits 240 degrees F on a candy thermometer. This is the ideal temperature for dipping to achieve a perfect caramel consistency. Be attentive, as going above this temperature can lead to overly thick caramel.
Add Flavor: Remove the caramel from the heat, and stir in 1/4 teaspoon of salt and 1 teaspoon of vanilla extract. Allow the caramel to cool for about 5 minutes to thicken slightly before dipping.
Dip the Apples: Take each apple by the stick and immerse it in the warm caramel, swirling it gently to cover it all the way up to the stick. Lift it out and let the excess caramel drip back into the pot before placing the coated apple on your prepared baking sheet. Repeat for the remaining apples, allowing them to cool to room temperature.
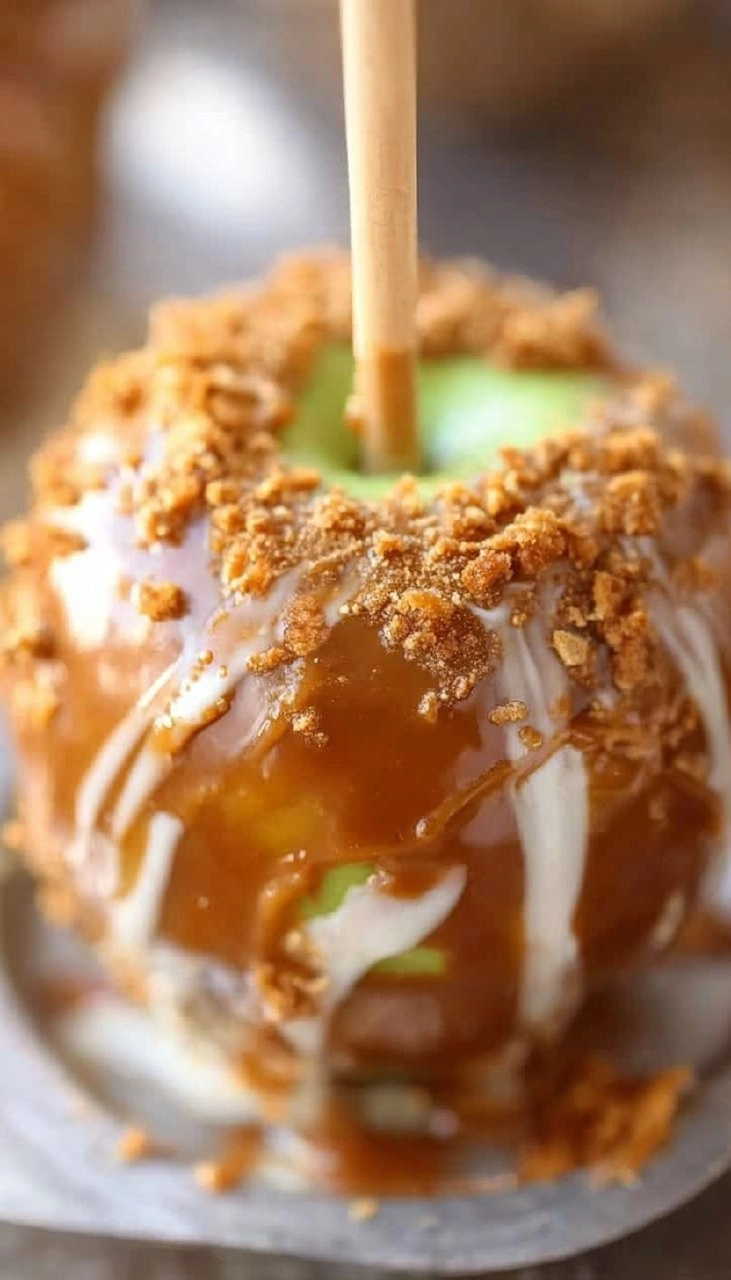
Add Chocolate and Toppings: Drizzle the melted chocolate over each caramel apple. You can also roll them in 1/2 cup of your favorite toppings like sprinkles, crushed candy bars, or crystal sugar to add extra flair.
Store: Keep your delicious creations in the fridge, loosely covered, for up to 1 week. Enjoy these delightful treats any time!
Storing & Reheating
To store your homemade caramel apples, keep them in the refrigerator in an airtight container for up to one week. If you want to extend their life, you can freeze them for up to three months. However, be aware that the texture and flavor may change slightly when frozen. To refresh them, allow them to thaw in the fridge overnight and enjoy them chilled or at room temperature.
Chef’s Helpful Tips
- Avoid Overcooking: Keep an eye on your caramel while it’s cooking to prevent it from getting too thick or burning.
- Use a Candy Thermometer: For the best results, a candy thermometer ensures precision, especially to hit that ideal 240 degrees F.
- Temperature of Ingredients: Use room temperature ingredients to help the caramel come together smoothly.
- Dipping Technique: Swirl the apple gently in the caramel to avoid drips and ensure an even coating.
- Make-Ahead Fun: Prepare the caramel in advance and let it cool slightly before dipping to streamline your caramel apple-making process.
Nothing beats the charm of homemade caramel apples, whether you’re indulging on your own or sharing with loved ones. This recipe is special because it allows you to customize every aspect to fit your taste and style. From the shiny caramel to the delightful toppings, I encourage you to get creative!
Recipe FAQs
Can I use other types of apples besides Granny Smith?
Absolutely! While Granny Smith apples are tart and firm, you can use Honeycrisp or Fuji apples for a sweeter flavor. Just make sure whichever apples you select are crisp and fresh.
Is this recipe suitable for kids to help with?
Definitely! This is a great recipe for kids to help with, especially during the dipping and decorating stages. Just be cautious with the hot caramel and supervise them closely.
How can I make this recipe gluten-free?
This homemade caramel apples recipe is already gluten-free! Just be mindful of the toppings you choose; ensure they are labeled gluten-free to keep the sweetness safe for everyone.
Can I make caramel ahead of time?
Yes, you can make the caramel in advance! Just store it in an airtight container in the refrigerator for up to a week. When you’re ready to use it, gently reheat it over low heat until it reaches a pourable consistency again.
Ready to enjoy some delicious homemade caramel apples? Gather your ingredients, invite your friends or family to join in the fun, and create sweet memories together!
More Desserts & Appetizers Recipes
- Banana Coffee Cake
- Caramel Apple Crisp with Crunchy Oat Topping
- Apple Cinnamon Oatmeal Porridge
- Grandma’s Oatmeal Raisin Cookies
- Pear Crisp
Did You Enjoy Making This Recipe? Please rate this recipe with ⭐⭐⭐⭐⭐ or leave a comment.
📖 Recipe Card

Homemade Caramel Apples
- Prep Time: 30 minutes
- Cook Time: 30 minutes
- Total Time: 1 hour
- Yield: 12 servings 1x
- Category: Desserts & Appetizers
- Method: Stovetop
- Cuisine: American
Description
These Homemade Caramel Apples offer an irresistible blend of flavor and sweetness, with key ingredients like granny smith apples, rich caramel, and a choice of toppings. They’re perfect for quick treats and special occasions, making them a must-try for anyone interested in easy, homemade desserts!
Ingredients
- 12 whole granny smith apples
- 12 lollipop sticks, or popsicle sticks
- 1 cup butter
- 1 cup sugar
- 1 cup light brown sugar
- 1 cup karo syrup
- 1 can sweetened condensed milk
- 1 teaspoon vanilla extract
- 1/4 teaspoon salt
- 2 cups chocolate wafers, white or milk chocolate, melted
- 1/2 cup toppings, sprinkles, crushed candy bars, crystal sugar, etc.
Instructions
- Wash the apples to remove any wax by soaking them in a half gallon of water mixed with 1 cup of white vinegar. Dry the apples completely with a dish towel or paper towel.
- Remove the stem from each apple and insert a lollipop stick into the top, pushing it about 3/4 of the way through.
- Line a baking sheet with parchment paper and place the apples on top.
Notes
Feel free to experiment with your favorite toppings such as crushed nuts or extra sprinkles.
Ensure the apples are completely dry before dipping them to prevent the caramel from sliding off.
Sticks can be inserted into the apples a day ahead to save time.
Nutrition
- Serving Size: 1 apple
- Calories: 180
- Sugar: 20g
- Sodium: 50mg
- Fat: 7g
- Saturated Fat: 4g
- Unsaturated Fat: 2g
- Trans Fat: 0g
- Carbohydrates: 27g
- Fiber: 1g
- Protein: 1g
- Cholesterol: 30mg