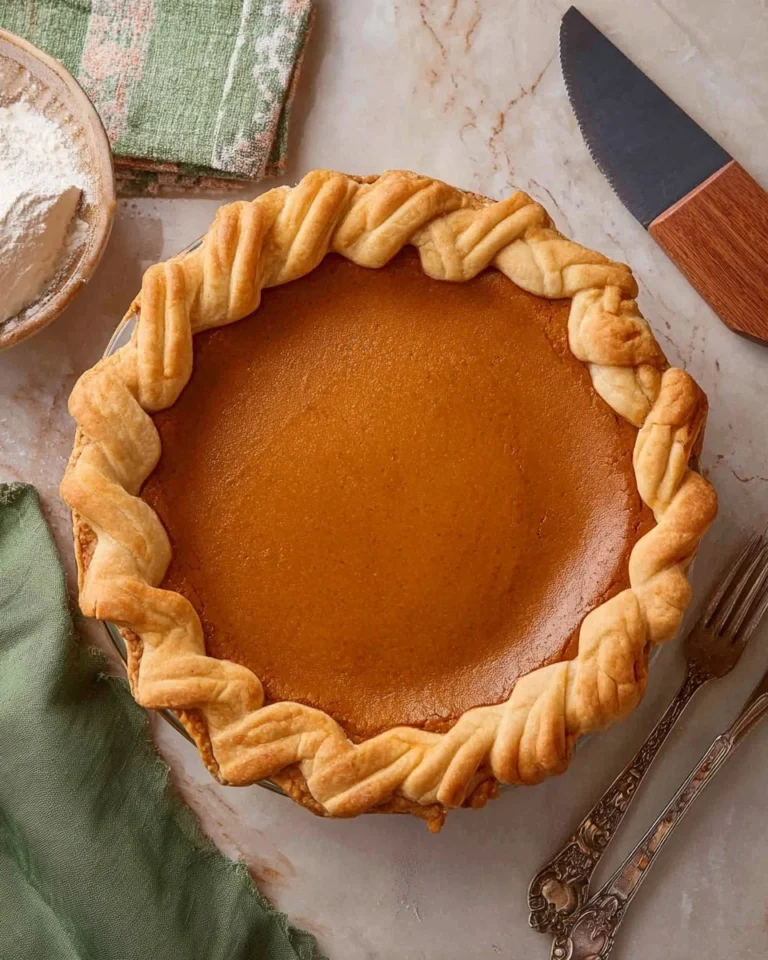
How To Crimp Pie Crust

How many times have you bitten into a slice of pie only to find the crust soggy or bland? A perfectly crimped pie crust is not just a pretty face; it holds the promise of flaky, buttery goodness that complements your filling beautifully. When it comes to making that crucial first impression, crimping your pie crust not only enhances its appearance but also secures it, preventing leakage during baking. Let’s dive into how you can master this essential technique.
Table of Contents
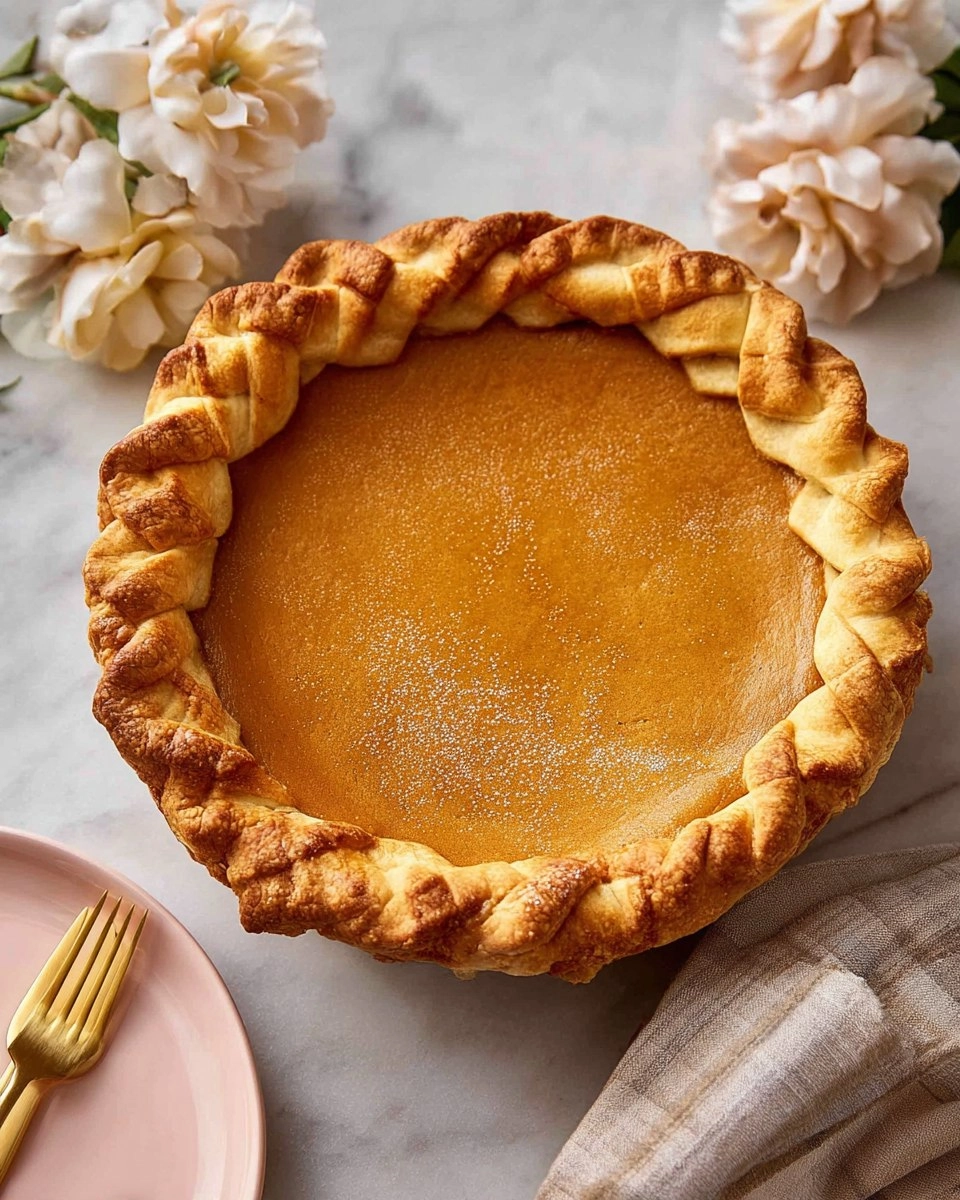
I still remember the first time I crimped my pie crust. I was brimming with excitement, armed with a rolling pin and a ready-made filling. As I shaped that dough around the pie pan, I felt a sense of accomplishment wash over me. It was like creating a little piece of art that I couldn’t wait to share. Crimping may seem daunting, but once you get the hang of it, you’ll find that it’s easier and more rewarding than you think. This guide on how to crimp pie crust will leave you brimming with confidence, eager to flaunt your handiwork at your next gathering!
Why You’ll Love This Recipe
- Simple & Quick: With a bit of practice, you can crimp your pie crust in just a few minutes.
- Irresistible Flavor: A beautifully crimped crust ensures a delicious, flaky texture that shines through in every bite.
- Eye-Catching Appeal: Elevate your pies from ordinary to extraordinary with eye-catching designs.
- Flexible Serving: Perfect for any occasion—whether it’s a cozy family dinner or a holiday gathering.
- Budget-Friendly: You can easily whip up a delicious pie crust at home without breaking the bank.
Ingredients You’ll Need
- Pie dough (rolled into a 12- to 14-inch circle, about ⅛-inch thick): This is your canvas, and having a good pie dough is essential for flavor and texture. You can use homemade dough or store-bought for convenience. If using store-bought, look for a high-quality brand without additives.
- Flour (for dusting counter, fingers, and tools): A little flour goes a long way in preventing your dough from sticking. Use all-purpose flour for best results, and be cautious not to over-flour, as this can toughen the crust.
- Water or egg wash (for decorative cutout glue, optional): If you’re adding decorative elements to your pie, a bit of water or an egg wash will help them stick.
- Beaten egg, egg + water, or egg + cream (for egg wash, optional): Adding an egg wash gives your crust a beautiful golden color. Use it for savory or sweet pies, and feel free to experiment with cream for an even richer glaze!
How to Make How To Crimp Pie Crust
Roll Out Your Dough: Start by rolling your pie dough into a 12- to 14-inch circle, about ⅛-inch thick. Dust your counter lightly with flour to prevent sticking, and rotate the dough every now and then for even thickness.
Press into the Pan: Gently press the rolled dough into a 9-inch pie pan, allowing the excess to hang over the edge. Make sure there are no gaps between the crust and the pan for a seamless bake later.
Trim the Edges: Use a sharp knife or kitchen shears to trim the overhang to about 1 inch beyond the edge of the pan. This will help you create a double-thickness rim.
Tuck it Under: Fold the 1-inch overhang underneath itself, forming a thick rim that rests on the lip of the pie pan. This adds stability to your crust, making it easier to crimp later.
Choose Your Crimping Technique: Now comes the fun part! Select a crimping technique—whether classic fluted, using a fork for simple impressions, or creating a rope effect with your fingers. Each technique adds a personal touch to your pie.
Chill Before Baking: Once your crust is shaped, chill it in the freezer for 15-20 minutes or the fridge for 30 minutes. Chilling the pie helps ensure that the crimp holds its shape during baking, resulting in a beautiful final product.
Storing & Reheating
To store your crimped pie crust, wrap it tightly in plastic wrap and keep it in the refrigerator for up to two days. If you’re not baking it right away, freeze it for up to three months in a freezer-safe container. When you’re ready to use it, there’s no need to thaw—simply bake from frozen, allowing a few extra minutes in the oven. Keep in mind that wrapping can slightly alter texture, but a quick reheating in the oven will help refresh its crispiness.
Chef’s Helpful Tips
- Avoid Overworking the Dough: Be gentle when handling the pie dough to maintain that flaky texture we all love.
- Keep Ingredients Cold: For a flaky crust, ensure that your ingredients—especially the butter—are cold before you start.
- Practice Different Techniques: Don’t hesitate to try various crimping methods; it’s all about finding what feels natural and looks good to you!
- Use a Sharp Knife for Trimming: Clean cuts will yield a neater appearance, so invest in a good kitchen knife or pastry cutter.
- Experiment with Flavors: Try adding a pinch of salt to your dough or incorporating herbs for a unique twist.
There’s so much joy in creating a pie that not only tastes fantastic but also looks gorgeous. Learning how to crimp pie crust transforms the process from basic to beautiful, giving you that extra boost of pride. Make it a family affair! Gather your loved ones in the kitchen, share your secrets, and enjoy the process together. Baking is not just about the end product; it’s also about the stories, laughter, and cherished moments that happen along the way.
Recipe FAQs
What is the best way to crimp a pie crust?
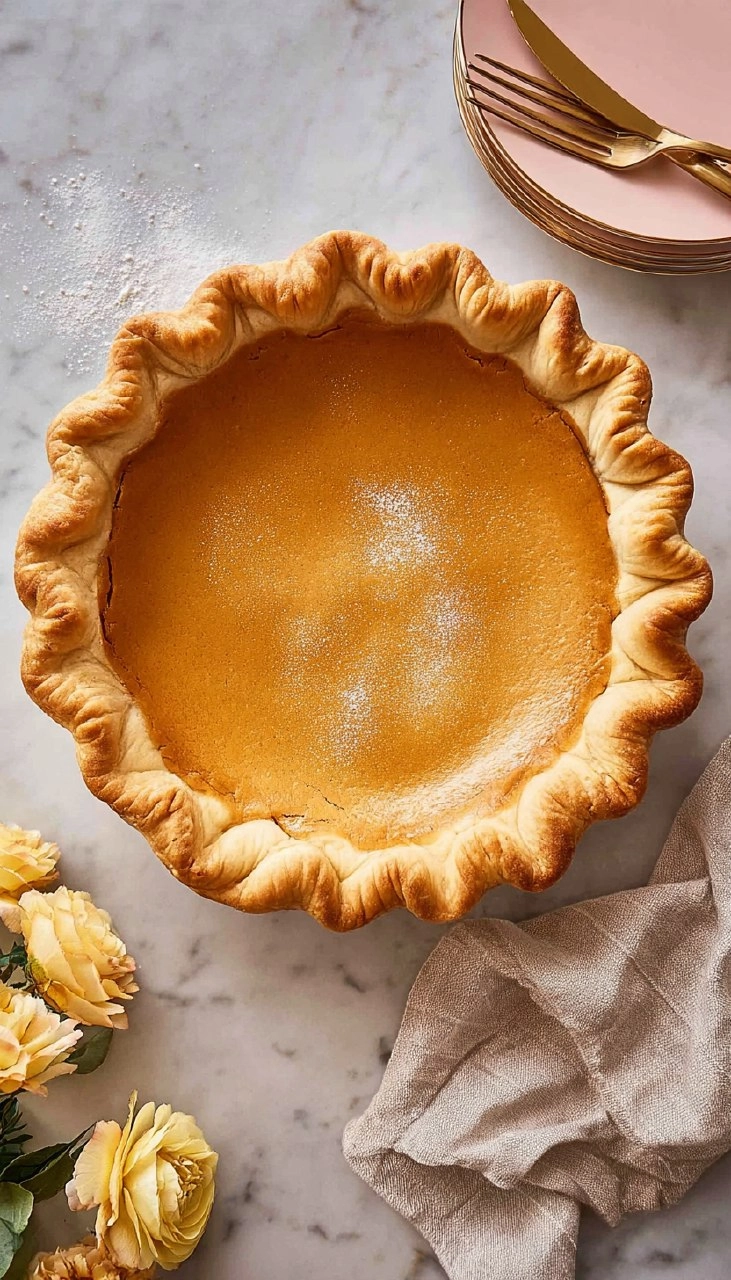
The best way to crimp a pie crust depends on your desired look. Common techniques include using your fingers to create a fluted design, a fork to press decorative impressions, or even using the back of a spoon for a more relaxed style. Practice makes perfect, so don’t hesitate to try various styles to find what suits your taste.
Can I make pie crust ahead of time?
Absolutely! You can prepare your pie crust a day in advance and store it wrapped in plastic wrap in the fridge. If you’re planning to freeze it, roll it out and crimp it into the pan before wrapping and storing. This way, it’s ready to bake whenever you want.
How do I prevent my pie crust from shrinking during baking?
Chilling your pie crust before baking can help prevent shrinking. Additionally, you can use pie weights or dried beans during the initial baking phase (blind baking) to hold the crust in place and prevent it from puffing up.
Can I use gluten-free flour for pie crust?
Yes! Many brands offer gluten-free flour blends that work well for pie crusts. Look for blends that include xanthan gum to mimic the elasticity of gluten. Remember to follow the package instructions for best results and be prepared for slight differences in texture and flavor.
PrintMore Desserts & Appetizers Recipes
- Maple Bourbon Pecan Pie
- Cherry Hand Pies
- The BEST Pumpkin Pie Recipe (From Scratch)
- Apple Pie
- Blueberry Crumble Pie
Did You Enjoy Making This Recipe? Please rate this recipe with ⭐⭐⭐⭐⭐ or leave a comment.
📖 Recipe Card

How To Crimp Pie Crust
- Prep Time: 10 minutes
- Cook Time: 0 minutes
- Total Time: 10 minutes
- Yield: 1 pie 1x
- Category: Desserts & Appetizers
- Method: Baking
- Cuisine: American
Description
Learn how to crimp pie crust to perfection! This simple recipe ensures your crust is flavorful and holds its beautiful shape, making it ideal for any pie.
Ingredients
- 1 pie dough (rolled into a 12- to 14-inch circle, about ⅘-inch thick)
- Flour (for dusting counter, fingers, and tools)
- Water or egg wash (for decorative cutout glue, optional)
- 1 beaten egg (for egg wash, optional)
Instructions
- Roll the dough into a 12- to 14-inch circle, about ⅘-inch thick, lightly flouring your counter and rotating frequently to avoid sticking.
- Press the dough into a 9-inch pie pan, ensuring the excess hangs over the edge, with no gaps between the crust and the pan.
- Trim the overhang to 1 inch beyond the edge of the pan.
- Tuck the 1-inch overhang under itself into the pie pan to create a double-thickness rim resting on the lip of the pan.
- Select your preferred crimping technique (Classic Fluted, Fork, Rope, Spoon, or Decorative Cuts) and apply it to the edge.
- Chill the assembled pie in the freezer for 15-20 minutes (or in the fridge for 30 minutes) before baking to ensure the crimp retains its shape.
Notes
Ensure the dough is well chilled before rolling to prevent sticking.
Experiment with different crimping styles to find your favorite look for the pie crust.
Using an egg wash can add a beautiful golden sheen to your crust after baking.
Nutrition
- Serving Size: 1 piece
- Calories: 150
- Sugar: 0g
- Sodium: 200mg
- Fat: 8g
- Saturated Fat: 3g
- Unsaturated Fat: 5g
- Trans Fat: 0g
- Carbohydrates: 15g
- Fiber: 1g
- Protein: 2g
- Cholesterol: 30mg