How To Lattice Pie Crust

How to Lattice Pie Crust
Table of Contents
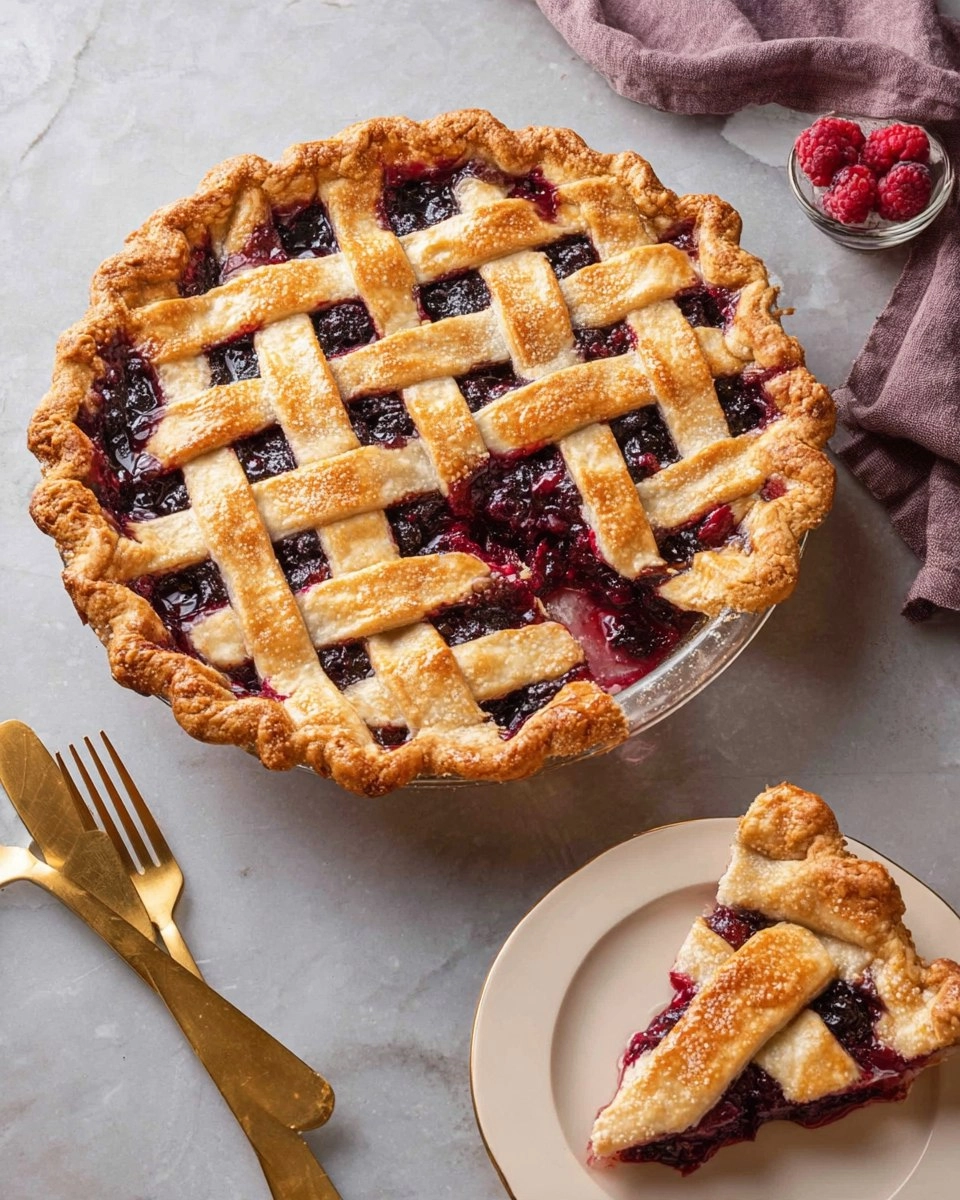
Baking a homemade pie is one of life’s simple pleasures—nothing quite beats the smell of pie wafting through your home. Imagine cutting into a golden, flaky crust to reveal delicious, bubbling filling inside, all encased in a stunning lattice top. Lattice pie crust is not just about aesthetics; it also allows steam to escape and adds a lovely, flaky texture to your pie. Whether you’re preparing for a family gathering, holiday festivity, or simply indulging your sweet tooth, knowing how to create this charming pie crust is essential.
I first learned to make a lattice pie crust during a baking class, and I was amazed at how easy it was to create an impressive dessert with just a few techniques. The satisfaction of pulling a perfectly baked pie from the oven, complete with a beautifully woven crust, is truly unmatched. Plus, making your own pie from scratch is a delightful way to express love and creativity through food. Whether you’re filling it with seasonal fruits or a rich custard, this lattice crust takes your pie to the next level of deliciousness. I invite you to roll up your sleeves and try making it yourself!
Why You’ll Love This Recipe
- Simple & Quick: Once you get the hang of it, creating lattice crusts is a straightforward process that comes together swiftly, especially if you already have your pie dough prepared.
- Irresistible Flavor: A flaky, buttery crust enhances the delectable filling, bringing out flavors that store-bought pies can’t match.
- Eye-Catching Appeal: Lattice designs add a rustic charm that’s perfect for impressing family and friends.
- Flexible Serving: Ideal for any occasion, they’re perfect for dinner parties, holidays, and even casual snacking.
- Diet-Friendly Options: With the right substitutions, you can easily tailor the crust to be gluten-free or dairy-free while keeping it delicious.
Ingredients You’ll Need
Pie dough (enough for a double-crust pie): You can use your favorite homemade recipe or store-bought options. Choose a dough that’s rich in butter for the best flavor and flakiness.
Pie filling (about 4 cups): Whether it’s classic apple, cherry, or a decadent pecan, choose a filling that complements your lattice design. Fresh fruit is always a lovely choice.
Egg wash (optional; 1 egg whisked with 1 tablespoon water or milk): This mixture gives your lattice crust a golden, glossy finish. If you’re aiming for a vegan option, a simple brush of almond or soy milk works well.
How to Make How To Lattice Pie Crust
Roll Out the Dough: Start by rolling out one disc of pie dough into a circle or square that’s larger than your pie pan, about ⅛-inch thick. This gives you plenty of dough to work with for the lattice.
Score the Dough: Using a ruler or tape measure, score lines 1 inch apart across the dough, edge-to-edge. This will help ensure your strips are uniform in size.
Cut the Strips: Carefully cut along the scored lines to create long parallel strips, saving your longest strips for the center of the pie—it will make the lattice look more cohesive.
Lay the First Strips: Place 5-6 strips on top of the pie filling, spaced evenly apart. These will be the foundation of your lattice.
Fold Back Every Other Strip: Starting with the second strip from one edge, fold every other strip back toward the center of the pie, creating room for a perpendicular strip.
Add the Perpendicular Strip: Take one strip from your remaining pile and lay it across the folded strips, close to the base of the folds.
Unfold the Strips: Return the folded strips to their original position so they lie over the new strip, creating an overlapping design.
Alternate Folding and Laying More Strips: Fold back the other set of alternating strips and lay another cross-strip spaced about ¾ inch to 1 inch away. Unfold the strips back over.
Continue Pattern: Repeat the process, folding one set back, laying a cross-strip, and so on, working your way out toward both edges of the pie.
Trim Excess Dough: Using kitchen shears, trim the excess bottom crust and lattice strips to about 1 inch beyond the edge of the pie pan for a neat finish.
Seal the Edges: Fold the excess dough up and over itself, gently pressing to seal the lattice strip ends to the bottom crust.
Add Your Finishing Touch: Press your preferred decorative pattern into the edges of the crust to add a nice touch.
Chill then Bake: Freeze the assembled pie for 15 to 20 minutes. If you wish, brush the top with egg wash for that lustrous shine before baking.
Storing & Reheating
Store any uncovered leftovers at room temperature for 1-2 days, or refrigerate them in an airtight container for up to 5 days. For longer-term storage, consider freezing the pie. Wrap it tightly in foil or plastic wrap and freeze for up to 3 months. When ready to enjoy, simply reheat in a 350°F oven for about 15-20 minutes until warmed through. Keep in mind that the texture may change somewhat after freezing, but reheating will help refresh its charming goodness.
Chef’s Helpful Tips
- Avoid tough crusts by ensuring your dough stays cold throughout the process—this helps it remain flaky.
- If the dough is sticky, dust your work surface and rolling pin with flour; don’t be shy with it!
- Make your pie dough a day in advance. Chilling it overnight makes rolling it out a breeze.
- If you find cutting the strips challenging, using a pizza cutter can speed up the process!
- Experiment with different fillings and spice mixes—there’s no wrong way to create a delicious pie.
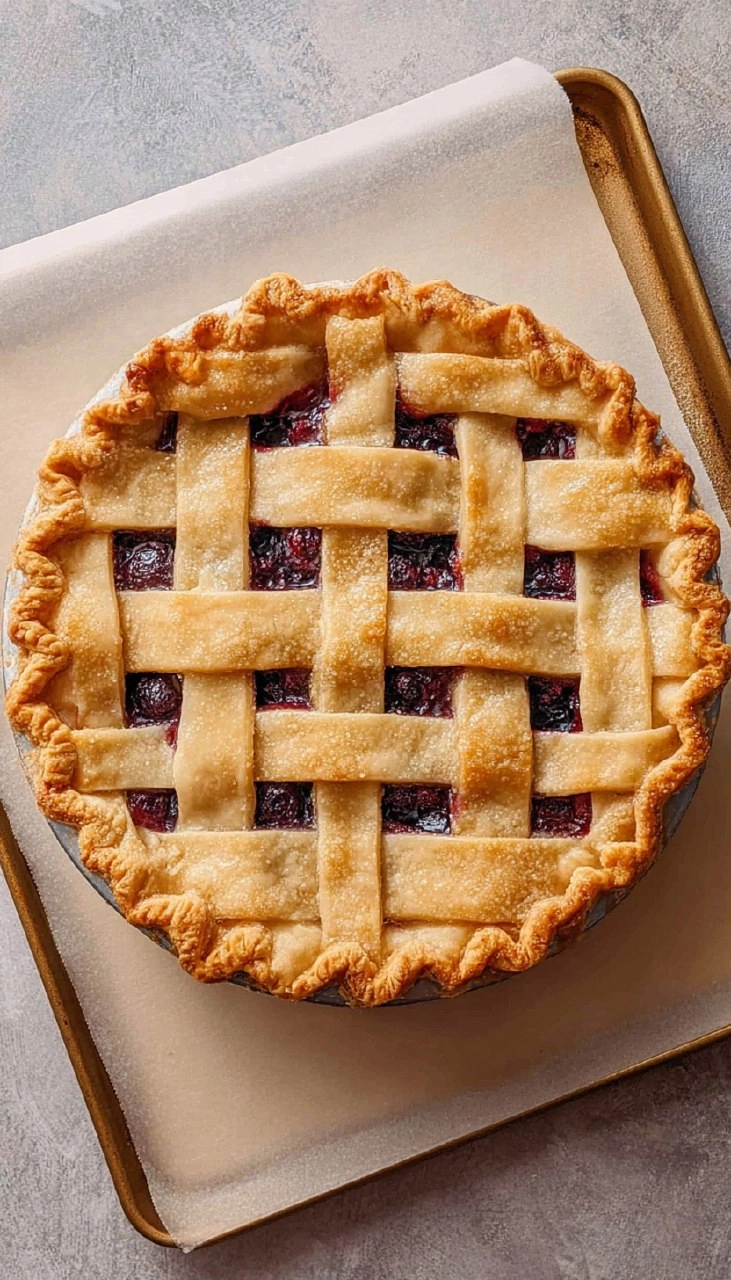
Creating a lattice pie crust opens up a wonderfully creative aspect of pie-making. Each time you make one, it’s an opportunity to experiment with shapes, fillings, and flavors. The most important part is to have fun with it and enjoy the process!
Recipe FAQs
Can I use store-bought pie crust for lattice tops?
Absolutely! Store-bought pie crust is a great option if you’re short on time. Just make sure to thaw it according to package instructions before rolling it out and cutting your strips.
What type of pie fillings works best with a lattice crust?
Fruits like apples, cherries, and berries are classics for lattice pies. You can also try custard fillings, but ensure they’re not too watery to prevent sogginess.
Can I prepare the pie crust in advance?
Yes, you can prepare the lattice crust a day in advance. Assemble the crust but don’t bake it. Cover and refrigerate until you’re ready to bake. You might need to let it rest at room temperature for a few minutes before putting it in the oven.
What if my lattice strips break while assembling?
Don’t worry! If a strip breaks, you can simply patch it up by overlapping it with another strip or using dough scraps to fill in gaps.
Enjoy the delightful process of crafting your lattice pie crust; it’s not just about the final product but the joy of baking itself!
PrintMore Desserts & Appetizers Recipes
- Apple Blueberry Pie with Flaky Lattice Crust
- Homemade Blueberry Pie with Lattice Top
- Cherry Pie Filling
- Apple Pie
- Blueberry Peach Pie
Did You Enjoy Making This Recipe? Please rate this recipe with ⭐⭐⭐⭐⭐ or leave a comment.
📖 Recipe Card

How To Lattice Pie Crust
- Prep Time: 20 minutes
- Cook Time: Hourly baking time varies by filling
- Total Time: 0 hours
- Yield: 1 pie 1x
- Category: Desserts
- Method: Baking
- Cuisine: American
Description
This lattice pie crust offers delicious flavor and a beautiful presentation. Made with simple ingredients, it elevates any pie and impresses at gatherings.
Ingredients
- 2 discs of pie dough
- 1 pie filling
- 1 egg whisked with 1 tablespoon water or milk (for egg wash, optional)
Instructions
- Roll out one disc of pie dough to about ⅛-inch thick, larger than the pie pan.
- Use a ruler to score lines 1 inch apart across the dough.
- Cut along the scored lines to create long strips, reserving the longest for the center.
- Position 5-6 strips over the pie filling, ensuring equal spacing.
- Fold every other strip back, leaving them in place.
- Lay a strip from the pile across the folded strips, near the edge.
- Return the original strips to their position over the new cross strip.
- Alternate the folding: fold another set back, add a cross strip, unfold, and repeat until reaching the edges.
- Trim excess crust to about 1 inch beyond the pie pan with kitchen shears.
- Fold the excess crust over itself and seal the ends with a gentle press.
- Decorate the edge of the crust as desired.
- Freeze the pie for 15-20 minutes, brush with egg wash if using, and bake.
Notes
You can add sugar to the egg wash for a sweeter glaze.
For best results, keep the pie dough chilled before working with it.
Experiment with different pie fillings to vary flavors.
Nutrition
- Serving Size: 1 slice
- Calories: 200
- Sugar: 1g
- Sodium: 100mg
- Fat: 10g
- Saturated Fat: 3g
- Unsaturated Fat: 5g
- Trans Fat: 0g
- Carbohydrates: 25g
- Fiber: 1g
- Protein: 3g
- Cholesterol: 20mg