Homemade Crescent Rolls

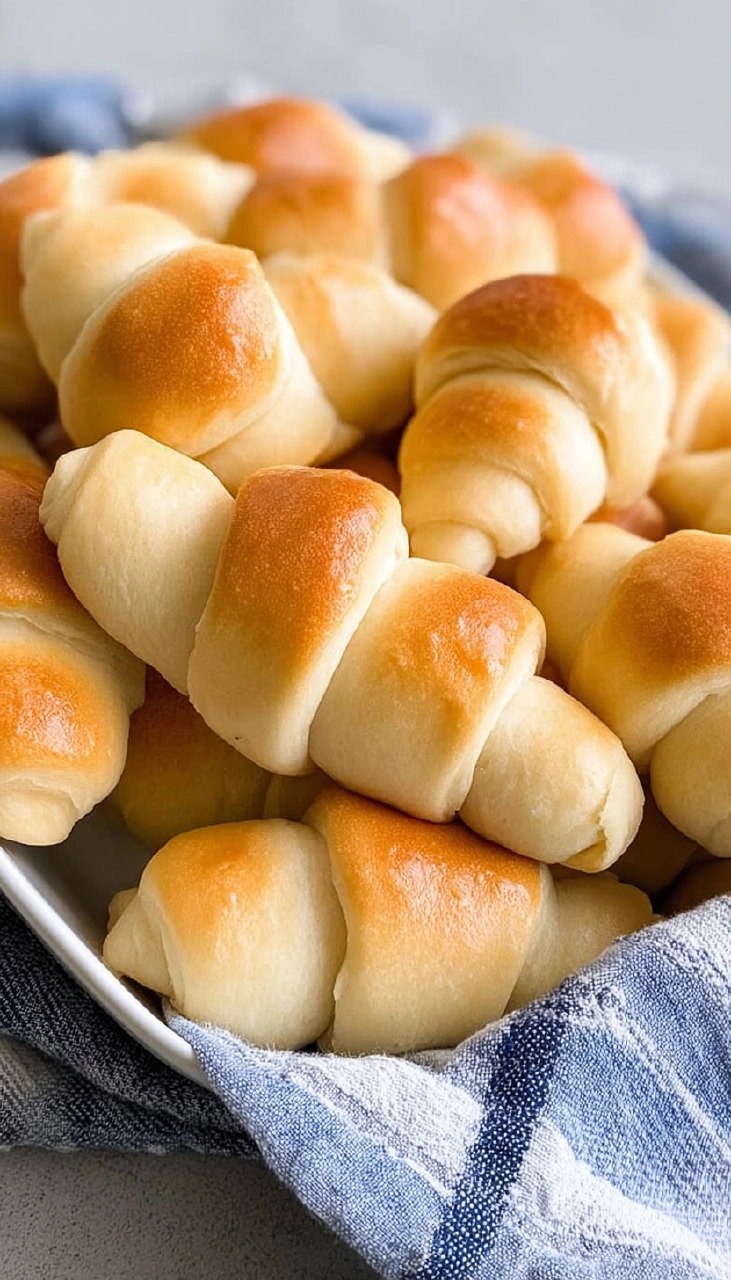
Homemade crescent rolls are like a warm hug for your taste buds. With their soft, flaky texture and buttery goodness, they elevate any meal or snack time in ways that store-bought versions can only dream of. These rolls are not just delicious; they fill your kitchen with a cozy aroma that makes everyone feel at home. Picture yourself gathering around the dining table with family and friends, each person savoring the first bite of these lovely rolls, accompanied by laughter and conversation. It’s a simple pleasure, and this recipe makes it surprisingly easy to create!
Table of Contents

I can still remember the first time I made these homemade crescent rolls. I was skeptical; would they really turn out as flaky and delightful as promised? But with each step, from preparing the ingredients to the magical moment when they emerged from the oven, my doubts melted away. The buttery, golden crescents practically disappeared within moments, leaving behind satisfied smiles. Trust me when I say, you’ll want to keep this recipe close at hand because everyone will be asking for seconds!
Why You’ll Love This Recipe
- Simple & Quick: You can whip up these rolls in just about two hours, making them a perfect addition to your weekday dinners or special occasions.
- Irresistible Flavor: Every bite is a delightful mix of buttery richness and subtle sweetness, complemented by a soft, pillowy texture.
- Eye-Catching Appeal: Their crescent shape is not only fun but also makes them visually impressive, perfect for impressing guests.
- Flexible Serving: Serve them as a side with dinner, a delicious breakfast, or simply enjoy them as a snack any time of day.
- Diet-Friendly Options: This recipe can easily be adapted for various dietary needs! Consider gluten-free or vegan options to fit your lifestyle.
Ingredients You’ll Need
- 3 cups (372g) all-purpose flour: This is the base of our dough, providing the structure. You can use up to 3 ½ cups if needed for consistency.
- 1 packet instant yeast (2 ¼ teaspoons or 7g): This helps the dough rise, creating that wonderful airy texture we all love in crescent rolls.
- 2 tablespoons (25g) granulated sugar: This little bit of sweetness aids in yeast activation and balances the flavors perfectly.
- 1 teaspoon salt: Essential for enhancing the overall taste of the dough.
- ¾ cup (177ml) milk: Adds moisture and richness. Whole milk works best, but you can use low-fat if necessary.
- ½ cup (118ml) water: Helps activate the yeast when combined with the milk.
- 3 tablespoons (42g) unsalted butter: Melted and mixed into the dough, this gives the rolls a rich flavor.
- ⅓ cup (33g) Idahoan potato flakes: These add a unique lightness and tenderness to the rolls.
- 1 large egg: Functions as a binder, giving structure and richness to the dough.
- 2 tablespoons (28g) unsalted butter, melted (for brushing): A final touch that makes the rolls golden and adds a delicious shine.
How to Make Homemade Crescent Rolls
- Prepare the Dough: In the bowl of a stand mixer fitted with the paddle attachment, combine 1 cup of flour, yeast, sugar, and salt. Whisk these dry ingredients together until fully mixed.
- Mix Wet Ingredients: In a microwave-safe measuring cup, heat ½ cup water, ¾ cup milk, and 3 tablespoons unsalted butter until the mixture reaches between 120°F and 130°F (around one minute in the microwave). If you have an instant-read thermometer, use it here! Add the potato flakes to this warm mixture and stir until they are dissolved.
- Combine Mixtures: Pour the warm liquid ingredients into the dry ingredients and switch to a dough hook attachment. Mix on medium speed for one minute.
- Add Egg and Flour: After a minute, add the egg and 1 cup of flour, mixing for another minute. The dough will be soft and slightly sticky; add another ⅓ cup of flour, mixing until it comes together into a cohesive dough. If necessary, add up to ¼ cup more flour until it’s only slightly sticky to the touch.
- Knead the Dough: Turn out the dough onto a floured surface and dust it lightly. Knead for 4-6 minutes until it forms a smooth ball that bounces back when pressed with two fingers. Cover it and let it rest for 10 minutes – this helps to relax the gluten for easier rolling later.
- Shape the Rolls: After resting, divide the dough into two halves. Roll each half into a 10-inch circle and cut each circle into 12 wedges, just like slicing a pizza.
- Roll the Crescents: Start at the wide end of each triangle and roll towards the point. Place the shaped rolls on a cookie sheet lined with parchment paper or a silicone baking mat, leaving about 1 inch between them. Cover with a kitchen towel and let them sit at room temperature for about one hour, or until they have doubled in size.
- Bake: Preheat your oven to 375°F. Brush the tops of the rolls with melted butter before baking. Bake for 15-25 minutes, or until they are light golden brown and fully cooked. Don’t forget to brush them with a little extra melted butter right after they come out of the oven for that irresistible sheen!
- Storage: To store, place the rolls in an airtight container at room temperature for up to 3 days. You can freeze baked rolls for up to 3 months for those moments when you need a quick bread fix!
- Make-Ahead Instructions: Once you shape the rolls and place them on the cookie sheet, cover tightly with plastic wrap and refrigerate for up to 24 hours. Just remember to let them come to room temperature and double in size before baking!
Storing & Reheating
To keep your homemade crescent rolls fresh, store them in an airtight container at room temperature for about three days. If you need to keep them longer, placing them in the refrigerator is a good option for about a week. For freezing, wrap the baked rolls tightly in plastic wrap, then seal them in a freezer bag. They’ll last for up to three months! When it’s time to enjoy those frozen delights, just reheat them in a preheated oven at 350°F for about 10 minutes until warm. You might notice a slight change in texture, but a quick refresh in the oven brings back that delightful softness.
Chef’s Helpful Tips
- Common Mistake: Don’t skip the resting time after kneading; it’s crucial for gluten development, which makes a lighter roll.
- Ingredient Temperature Tips: Ensure that your milk is warm and your butter is melted but not too hot; this helps activate the yeast without killing it!
- Timing Strategies: Adjust your proofing time based on the temperature of your kitchen; if it’s cooler, it may take longer.
- Texture Troubleshooting: If your rolls are too dense, try adding another tablespoon of flour until you achieve the right consistency while kneading.
- Flavor Enhancement: Consider adding herbs or garlic powder to the dough for an aromatic twist, or sprinkle some sea salt on top right before baking for an added flavor pop.
- Make-Ahead Options: The dough can also be prepared and frozen before shaping. Just thaw it in the refrigerator overnight and shape and bake when ready!
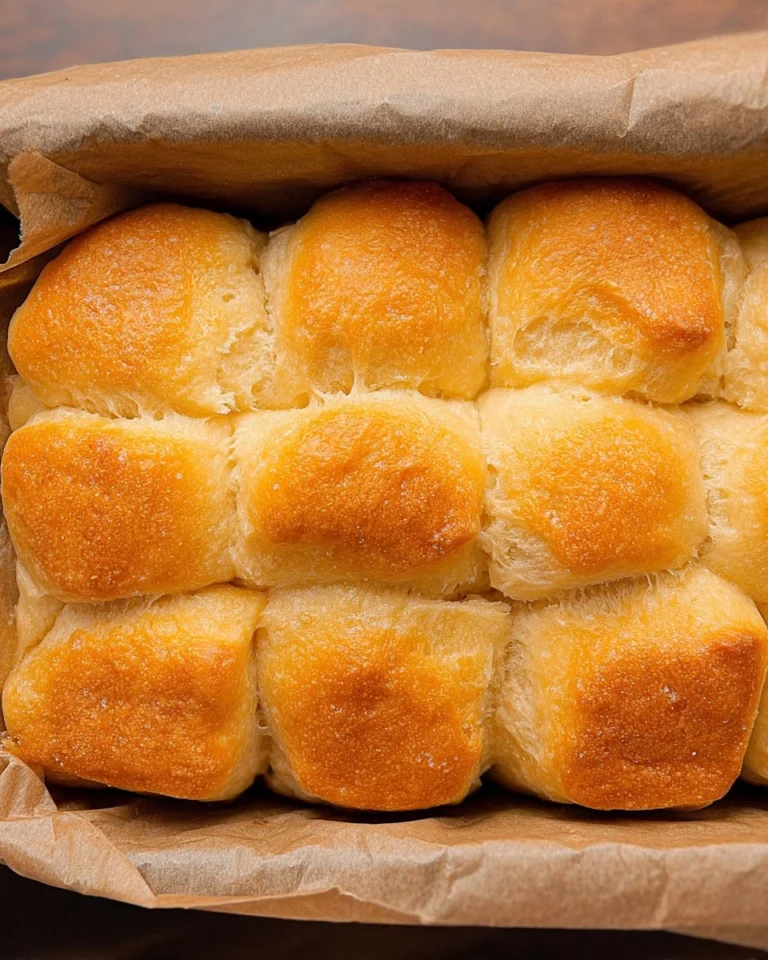
Nothing beats the satisfaction of pulling a tray of freshly baked rolls out of the oven, each one golden and glistening with buttery goodness. This easy homemade crescent rolls recipe promises both the joy of baking and the delight of enjoying them with those you love. Whether they’re served as a side dish for dinner, an indulgent breakfast treat, or simply enjoyed straight from the oven, these rolls are sure to be a hit. Feel free to experiment with different flavors or add-ins, making each batch your own. I can’t wait for you to try them!
Recipe FAQs
Can I use active dry yeast instead of instant yeast?
Absolutely! If you prefer active dry yeast, just remember to proof it first by dissolving it in the warm water mixture along with the sugar for about 5 minutes until it becomes foamy, then proceed with the recipe.
What can I do if my dough isn’t rising?
If your dough isn’t rising, check the temperature of your environment. Yeast is most active in a warm place (ideally around 80°F). If it’s too cold, find a cozy spot for the dough, like a turned-off oven with the light on or near a warm stovetop.
Can I make these rolls gluten-free?
Yes, you can try using a gluten-free all-purpose flour blend that contains xanthan gum. Make sure to check that all your other ingredients, especially the yeast, are gluten-free to be safe.
Can I freeze unbaked crescent rolls?
Definitely! After shaping the rolls, place them on a baking sheet to freeze. Once they’re frozen, transfer them to a zip-lock bag. When you’re ready to bake, just let them thaw and rise for a couple of hours before baking as usual.
PrintMore Dinner Recipes
- Healthy Cheesy Ground Beef Rice Casserole
- Flank Steak Marinade
- Pizza Dip
- Cheesy Brussels Sprout Casserole
- Baked Ham with Brown Sugar Glaze
Did You Enjoy Making This Recipe? Please rate this recipe with ⭐⭐⭐⭐⭐ or leave a comment.
📖 Recipe Card

Homemade Crescent Rolls
- Prep Time: 20 minutes
- Cook Time: 20 minutes
- Total Time: 40 minutes
- Yield: 24 rolls 1x
- Category: Baking
- Method: Baking
- Cuisine: American
Description
These homemade crescent rolls are flavorful and easy to prepare. With simple ingredients like all-purpose flour, instant yeast, and buttery goodness, they are perfect for any meal or snack. Enjoy them fresh as a comforting side to dinner or a delightful breakfast treat!
Ingredients
- 3 cups (372g) all-purpose flour
- 1 packet Instant Yeast (2 ¼ teaspoons or 7g)
- 2 tablespoons (25g) granulated sugar
- 1 teaspoon salt
- ¾ cup (177ml) milk
- ½ cup (118ml) water
- 3 tablespoons (42g) unsalted butter
- ⅓ cup (33g) Idahoan Potato Flakes
- 1 large egg
- 2 tablespoons (28g) unsalted butter, melted (for brushing)
Instructions
- Combine 1 cup flour, yeast, sugar, and salt in a stand mixer bowl and whisk to combine.
- In a microwave-safe measuring cup, heat water, milk, and butter to between 120°-130°F. Stir in potato flakes.
- Pour the heated liquid into the dry ingredients and mix with a dough hook for 1 minute on medium speed.
- Add egg and 1 cup flour, mixing for another 1 minute, then add a third cup of flour until the dough is soft and slightly sticky.
- Transfer the dough to a floured surface, knead for 4-6 minutes until it bounces back when pressed, then let it rest for 10 minutes.
- Divide the dough into two pieces, roll each into a 10-inch circle, and cut into 12 wedges.
- Roll each triangle from the wide end to the point, place on a cookie sheet lined with parchment paper, and cover to let rise for 1 hour.
- Preheat the oven to 375°F, brush rolls with melted butter, and bake for 15-25 minutes until golden brown.
- Store in an airtight container for up to 3 days or freeze baked rolls for up to 3 months.
Notes
Make ahead: After shaping the rolls, you can refrigerate them for up to 24 hours. Allow to come to room temperature and double in size before baking.
For softer rolls, brush with butter immediately after baking and again before serving.
Always check the temperature of the liquids with an instant read thermometer for accuracy.
Nutrition
- Serving Size: 1 roll
- Calories: 130
- Sugar: 1g
- Sodium: 200mg
- Fat: 6g
- Saturated Fat: 4g
- Unsaturated Fat: 2g
- Trans Fat: 0g
- Carbohydrates: 17g
- Fiber: 0g
- Protein: 3g
- Cholesterol: 12mg